How to complette MK10 hotend correctly (for Ender-3, CR-10 and others)
This text has been automatically translated using Google Translate.
Ender-3 is very often a clogged hotend when holes appear in models.
If the hotend is well folded, it works very well and can be printed very nicely even with a standard extruder. But everything must work as it should.
Layout
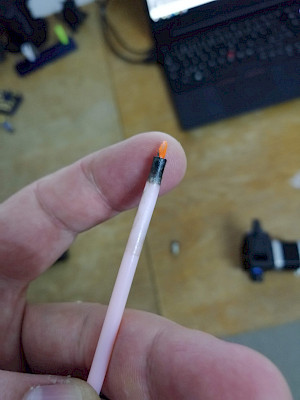
Heat the hot end to the operating temperature of the material inside. After heating the filament we quickly pull out to keep the hotend clean. Ideally, we perform a Cold Pull. This means that the hot end is heated to 100 degrees, and the material is extracted "cold". This should make the hotend from the inside beautifully clean.
We will disassemble the cover of the hotend or fang that you use to blow the press, so that we can get to the hotend itself. Some hotends are worn with cotton insulation with kapton tape (yellow transparent tape). You can take it down with a clear conscience. It is better to be there, but you can print without it.
If you have a replacement nozzle, I recommend replacing the nozzle directly. It's consumables.
However, in order to replace the nozzle, it is necessary to heat the hotend to some 200-220 degrees in order to unscrew the nozzle. To loosen the nozzle I recommend using larger pliers and a socket wrench, for example from the Gola set.
Unscrew the nozzle, check if there is any old filament inside the "cube".
Ingredients
Screw (ideally) a new nozzle. And be careful here. The nozzle must rest on the heatbreak, not on the cube itself. Heatbreak is the part that connects the radiator (with fins) and the cube. It ensures that the heat from the cube is not transferred higher to the hot end.
If the nozzle rests on the cube itself, there is a chance that there will be a small space inside the cube to settle the filament (and cause the hotend to clog). Therefore, it is important that the nozzle rests on the heatbreak and not on the cube. In this case, the cube itself needs to be screwed in more. This means loosening the two screws that connect the cube and the hot end cooler. Try one turn, then re-screw the nozzle. If there is a small gap between the cube and the nozzle after tightening the nozzle, we can screw the two long screws back.
Now the second part is the PTFE tube. Use a wrench to loosen the pneumatic seal and unscrew it completely. Take the tube out of the hot end and check its condition. If it is black and baked at the end, we will shorten it. You don't have to worry about missing it, the bowden (PTFE tube) is long enough. So cut off 2 cm (or the black part). And be careful here again. The PTFE tube must be cut straight. Because this part fits on the nozzle. If you cut it in a crooked way, we will create a place in the hot end where the filament will settle and make mischief. So cut the PTFE tube perfectly straight.
Now put the seal tube back into the hot end and screw the pneumatic seal to the end. Loosen back by approx. 3 turns. Push the PTFE tube as far as it will go. It should fit perfectly on the nozzle. Tighten the pneumatic seal to the end.
Heat the hotend to 250 degrees, and then try to tighten the nozzle. We tighten the nozzle hot, because of the thermal expansion of the metal. If we tighten cold, it may happen that the filament begins to flow around the heatbreak or between the cube and the nozzle. Which we definitely do not want.
Now we can switch off the heating of the hot end and reassemble it.
Now we should have a well-folded hotend that will make our prints look great. :-)