Filament runout sensor - selection and installation
This text was automatically translated using Google Translate.
The filament runout sensor monitors the presence, and some types even the movement or jamming, of the filament. This is a useful thing if we print in our absence. We can make it ourselves or buy ready-made various smart sensors. When detecting filament tips or jamming (depending on the type), the sensor sends a signal, which can be processed either directly by the printer or by Octoprint. It depends on where we connect the sensor.
Let's take a look at some types and what can be detected with them:
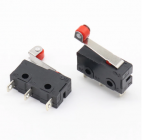 | If we want to play and try different types from Thingiverse, or model our runout sensor model, all we have to do is buy these microswitches with a wheel at the end. We will have a lot of fun and we can fool around practically indefinitely . When using only a switch, you will need to turn on the PullUp processor on the given pin (if it supports it), or use a 10k resistor permanently connected to + 5V and a signal to the board to make it clear to the processor whether to expect a logic 1 or 0 when the switch is not closed. |
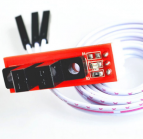 | The optical sensor is a bit more sophisticated. This may have a problem detecting the end of the filament for more translucent materials, but in this case the sensor can be turned off, for example, in the printer menu. This is a completely minor to exceptional problem. A more reliable solution is to use an optical sensor with a mechanical barrier. Here, the filament is not detected directly, but the inserted filament, e.g. through a ball, inserts a mechanically pre-prepared barrier, which is then detected by a sensor. This is how Průša has it on MK3. |
 | This is where the first finished product comes into play. For this you just need to print a holder and connect the three wires correctly. It also has some grain in it in the form of LEDs and resistors for PullUp / Down, so it will always work with almost everything. |
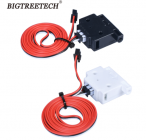
 | An interesting piece is also produced by Bigtreetech. It is a detector of both the end of the filament and its jamming. For example, in the case of a poorly wound or under-wound spool, a clogged nozzle, or other filament passage problem, it may be more than very useful. |
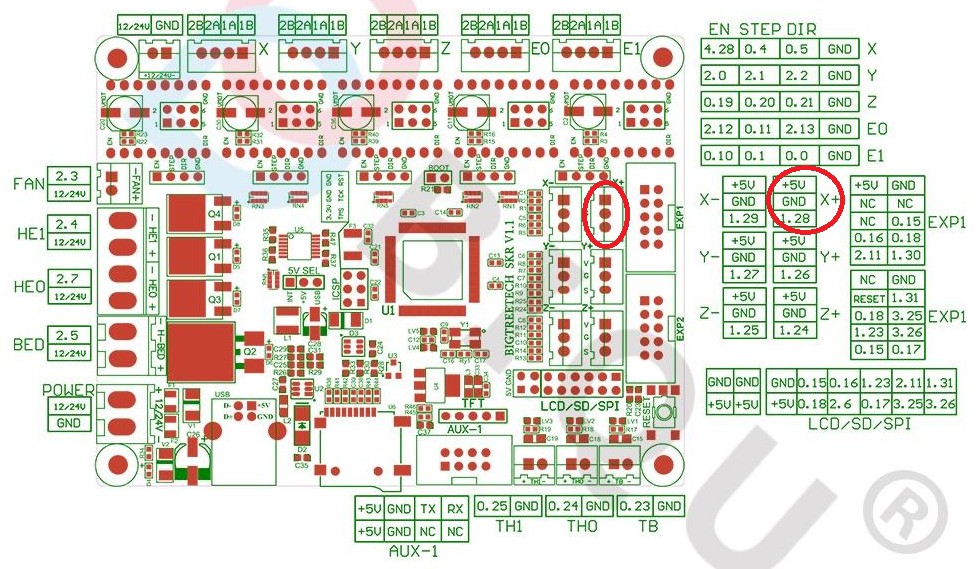
The connection consists of connecting 2 or 3 wires to one of the connectors for Endstop. Typically originally intended for the second right X + endstop. The signal is a logic 0 (ground switches), so it doesn't hurt to turn on the PullUp resistor in Marlin. In the first case (switch) we only need to connect wires 2, in the last (Bigtreetech Smart sensot) Marlin is adjusted to the filament motion sensor. Otherwise, the configuration is very similar. Assembly is a matter of possibilities and taste. In a simpler situation, there are owners of Bowden solutions, where the filament is placed much better.
We always place the filament runout sensor BEFORE the extruder. Behind the extruder, the end of the filament would no longer have a chance to be detected - no one should push :)
Sensor pin configuration
First, in the Marlin configuration, we define where the signal from the sensor is to be expected.
BTT SCR 1.3
file pins_BTT_SKR_V1_3.h
// Filament Runout Sensor
//
#ifndef FIL_RUNOUT_PIN #define FIL_RUNOUT_PIN P1_28 #endif
BTT SKR mini E3
For this board we have to help ourselves, for sensors that require it, by supplying + 5V from somewhere on the motherboard.
file pins_BTT_SKR_MINI_E3.h
// Filament Runout Sensor
//
#ifndef FIL_RUNOUT_PIN
  #define FIL_RUNOUT_PIN PC15 // "E0-STOP"
#endif
Basic Marlina settings
The Configuration.h file
#define DEBUG_LEVELING_FEATURE // - Allows us to commands to monitor the status of sensors from gcode.
The Configuration_adv.h file
#define ADVANCED_PAUSE_FEATURE // - Enables the M600 command used when replacing a filament.
Games with a switch
The simplest way to connect the switch is that when the filament is inserted, the switch closes the ground and the detection pin on the board. Therefore, we turn on the PullUp resistor to ensure the presence of a logic one (5V or 3.3V) on the detection pin when the switch is not closed. If our board cannot turn on the pullup resistor in software, we will add a 10kohm resistor ourselves and connect between + 5V (3.3V) and the sensed pin.
The configuratin.h file:
#define FILAMENT_RUNOUT_SENSOR
#if ENABLED (FILAMENT_RUNOUT_SENSOR)
  #define NUM_RUNOUT_SENSORS 1 // Number of sensors, up to one per extruder. Define a FIL_RUNOUT # _PIN for each.
  #define FIL_RUNOUT_INVERTING false // Set to true to invert the logic of the sensor.
  #define FIL_RUNOUT_PULLUP // Use internal pullup for filament runout pins.
  // # define FIL_RUNOUT_PULLDOWN
Examples of construction and assembly:
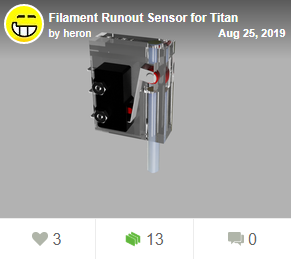 |  |
| It is especially suitable for Direct drive Titan or BMG. | Universal solution for bowden and direct drive. |
Games with optical sensor
The optical sensor has the advantage of minimal friction and, as I have noted so far, the filament does not jam when pulled out in the opposite direction to the lever as with mechanical endstops. The above-mentioned sensor also requires a pullup resistor, so we either turn it on by software or solder it.
The configuratin.h file:
#define FILAMENT_RUNOUT_SENSOR
  #if ENABLED (FILAMENT_RUNOUT_SENSOR)
  #define NUM_RUNOUT_SENSORS 1 // Number of sensors, up to one per extruder. Define a FIL_RUNOUT # _PIN for each.
  #define FIL_RUNOUT_INVERTING false // Set to true to invert the logic of the sensor.
  #define FIL_RUNOUT_PULLUP // Use internal pullup for filament runout pins.
  // # define FIL_RUNOUT_PULLDOWN
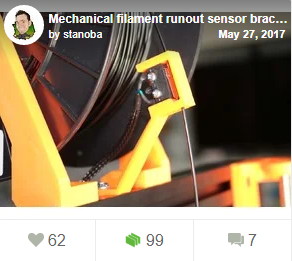
 |  |
| Separate sensor. | My favorite for direct with BMG or Titan. |
EzOut - finished Runout sensor
This finished runout sensor already has a pullup resistor in it. The rest is the same in the configuration.
The configuratin.h file:
#define FILAMENT_RUNOUT_SENSOR
  #if ENABLED (FILAMENT_RUNOUT_SENSOR)
  #define NUM_RUNOUT_SENSORS 1 // Number of sensors, up to one per extruder. Define a FIL_RUNOUT # _PIN for each.
  #define FIL_RUNOUT_INVERTING false // Set to true to invert the logic of the sensor.
  // # define FIL_RUNOUT_PULLUP // Use internal pullup for filament runout pins.
  // # define FIL_RUNOUT_PULLDOW
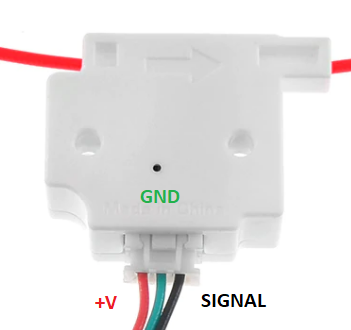
If we buy this sensor, we connect it with the enclosed cable directly to the motherboard. For clarity, I enclose the connection of pins that are not marked on the product.
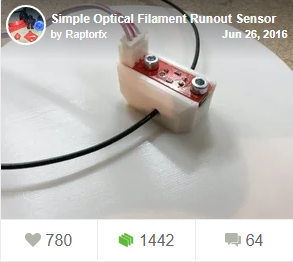
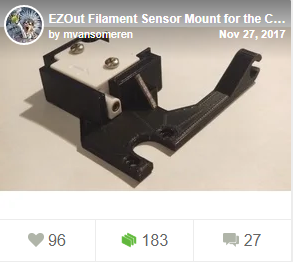 | 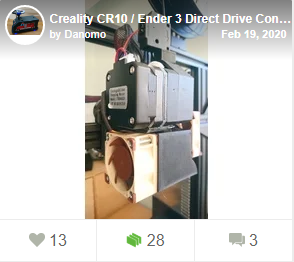 |
| Attachment to the original Ender. | Mounting for BMG direct drive. |
BIGTREETECH Smart Filament Sensor
This piece is a very handy thing. However, mounting it on a direct drive extruder can be problematic. Due to its weight, I attached it to the X-axis frame and created a kind of hybrid between the bowden and the direct drive extruder.
The configuration will expand a bit.
The configuration.h file
#define FILAMENT_RUNOUT_SENSOR
#if ENABLED (FILAMENT_RUNOUT_SENSOR)
  #define NUM_RUNOUT_SENSORS 1 // Number of sensors, up to one per extruder. Define a FIL_RUNOUT # _PIN for each.
  #define FIL_RUNOUT_INVERTING false // Set to true to invert the logic of the sensor.
  #define FIL_RUNOUT_PULLUP // Use internal pullup for filament runout pins.
  // # define FIL_RUNOUT_PULLDOWN // Use internal pulldown for filament runout pins.

#define FILAMENT_RUNOUT_SCRIPT "M600"
#define FILAMENT_RUNOUT_DISTANCE_MM 7
#define FILAMENT_MOTION_SENSOR
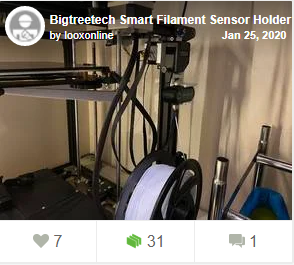 | 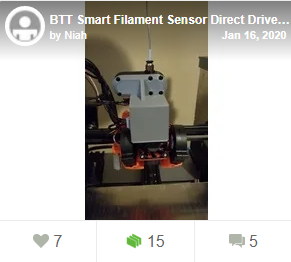 |
| We'll just hang it somewhere. | Here then on some direct. |
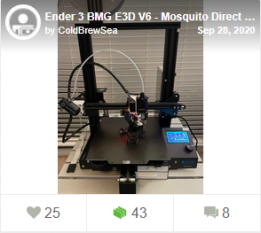 | 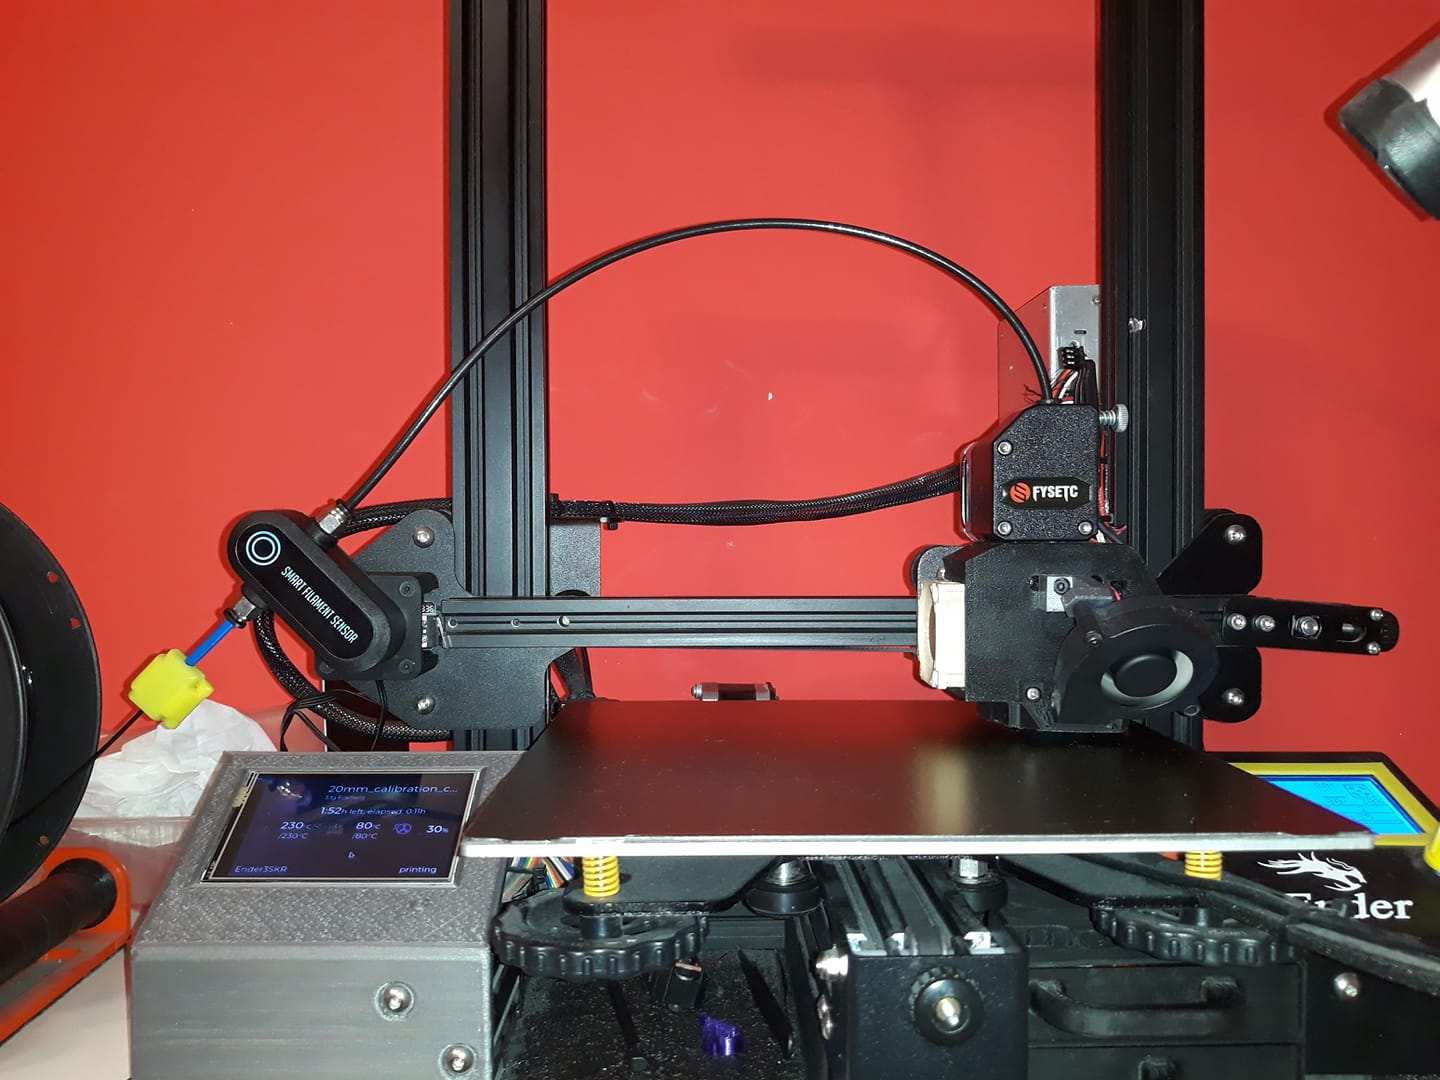 |
| Bowden to direct hybrid solution. | The result I currently use. |
Functionality test
After connecting the filament sensor and loading the modified Marlin, we test the functionality of the sensor with the filament inserted and removed with the M119 command from a console. For example, Octoprint, Simplify 3D, etc.
We should get the following results:
FIlament inserted
M119 (not matter if filament or not):
Recv: Reporting endstop status
Recv: x_min: open
Recv: y_min: open
Recv: z_min: TRIGGERED
Recv: filament: TRIGGERED
Recv: ok
Filament removed
M119 (not matter if filament or not):
Recv: Reporting endstop status
Recv: x_min: open
Recv: y_min: open
Recv: z_min: TRIGGERED
Recv: filament: open
Recv: ok
If the sensor behaves the other way around, we will only change it in the configuratin.h file :
#define FIL_RUNOUT_INVERTING true // Set to true to invert the logic of the sensor.
Conclusion
I am currently using a Smart filament sensor from Bigtreetech with a BMG extruder and a Bowden filament supply mentioned above. Before, I had an optical on a direct drive. I've enjoyed enough mechanical ones. These tended to jam occasionally when changing the filament, when the wider end portion pulled out of the hotend by the switch lever rubbed.