ABS printing on printer without a box
This text has been automatically translated using Google Translate.
The first mass used material for printing on 3D printers was ABS. It is a very widespread plastic with excellent mechanical properties. It is made for example Lego.
In 3D printing, however, it will show its specifics, which greatly unpleasant printing itself.
The main ones are:
1. It needs to cool very slowly to join the layers.
2. Compared to PLA or PETG, much more shrinks on cooling, causing problems in the form of peeling off the pad, and quite often the printout itself bursting.
The ideal solution is to have the printer placed in a box that prevents the escape of ambient heat and drafts that would cool the printout too quickly. However, not everyone prints ABS daily or has room for boxing. If you need to print from ABS only rarely, such as fangs , or air routers from the fan to cool the print, there is an easy way to make ABS printing easier and greatly increase the chance of a successful print.
The principle is simple - the printer prints a semi-closed "box" around the print, thanks to which the heat will escape considerably slower and the surrounding draft will be virtually eliminated.
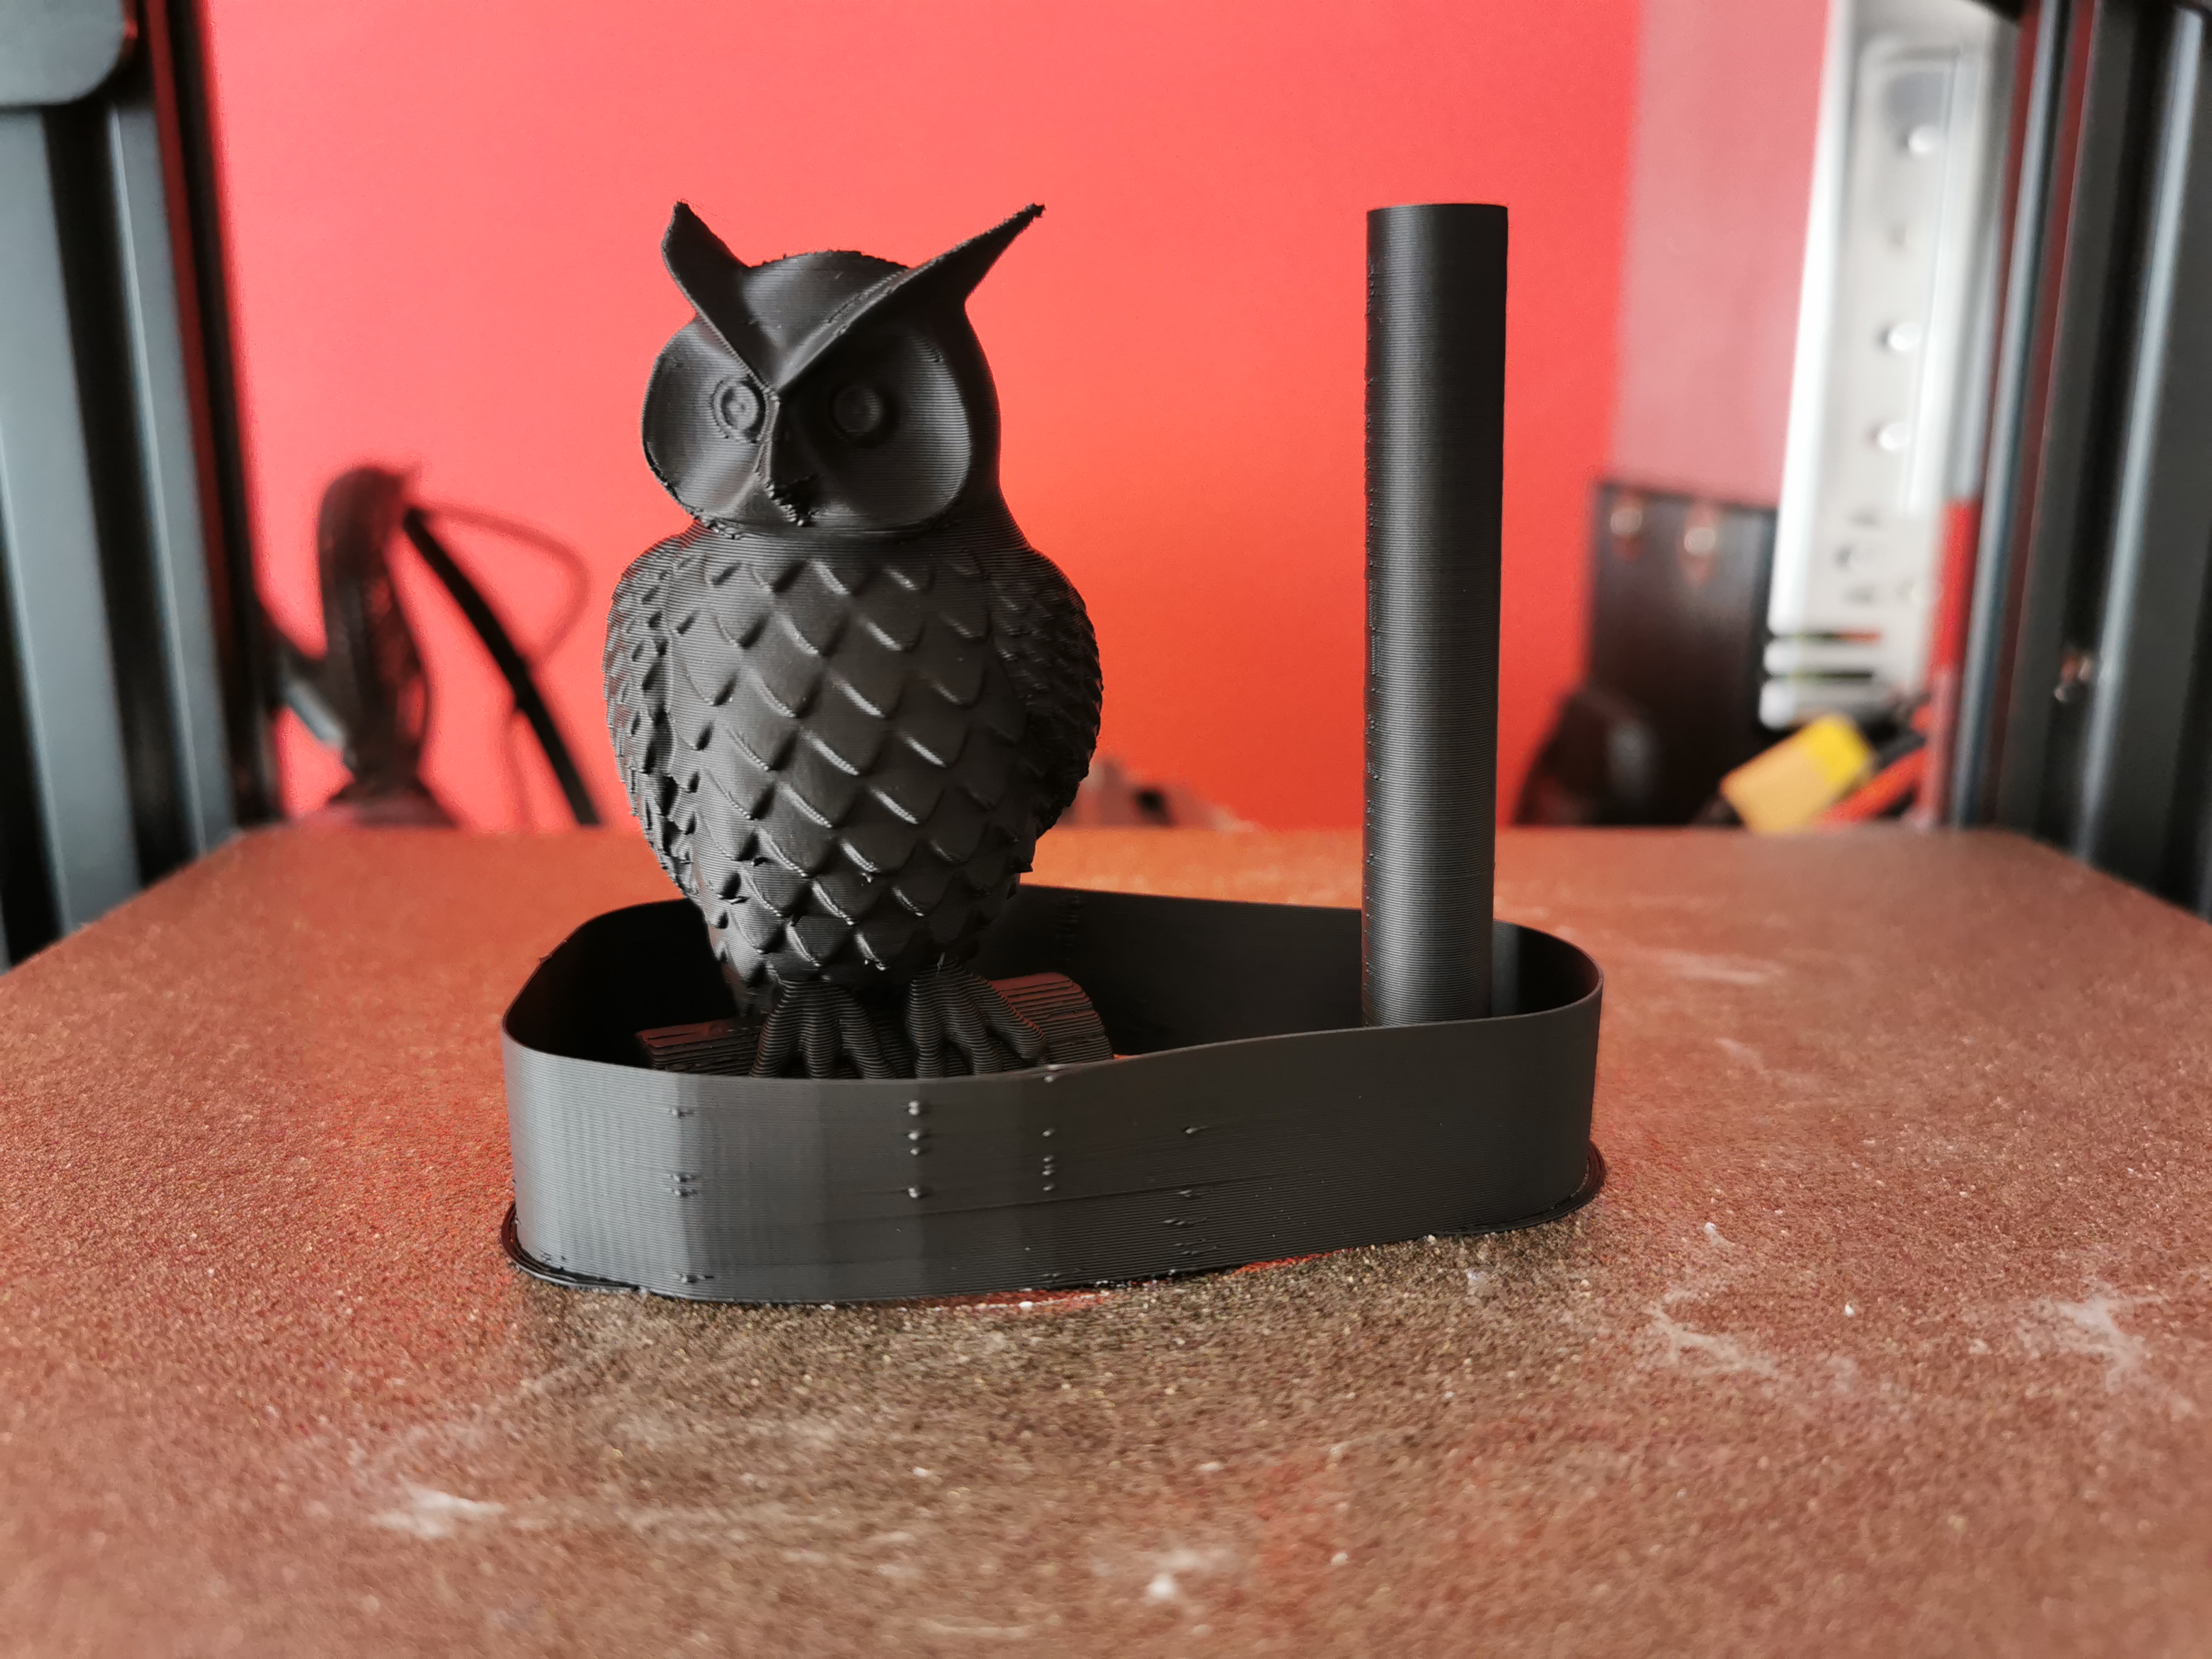
ABS must not cool too fast, on the other hand, or too slowly, so that the model does not collapse. When printing models with a short duration of one layer (thin higher models), we can help by placing either the second model or a sort of storage or "delayer" in the form of a cylinder.
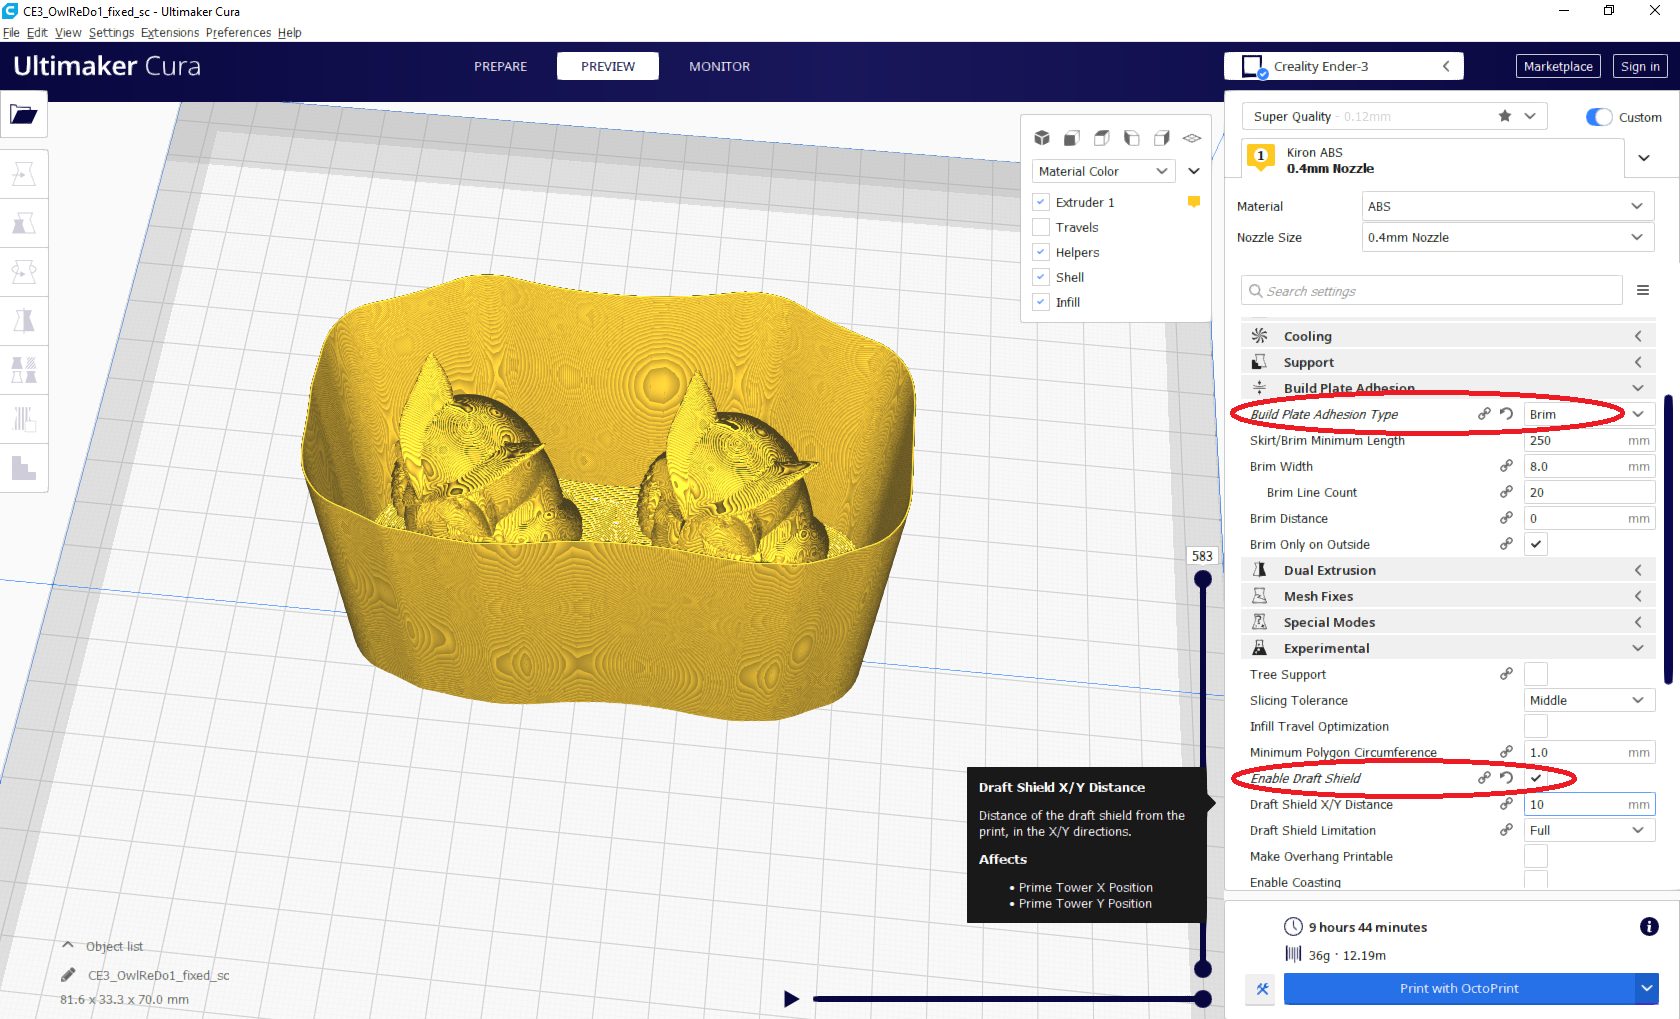
Preparing to print in CURA
Cura is well prepared for this situation. In the Experimental section it has a function directly implemented under the name Enable Draft shield.
By default, it works great and even creates a small brim at the heel to keep the fence better on the mat.
Preparing to print in the Slicer Bush
Even Průša Slicer is not left behind and offers this possibility. Although he does not create his own brim at the fence, but we can use the brim that we create for the model (s). Shield distance in this case, choose 2mm less than the width of the brim.

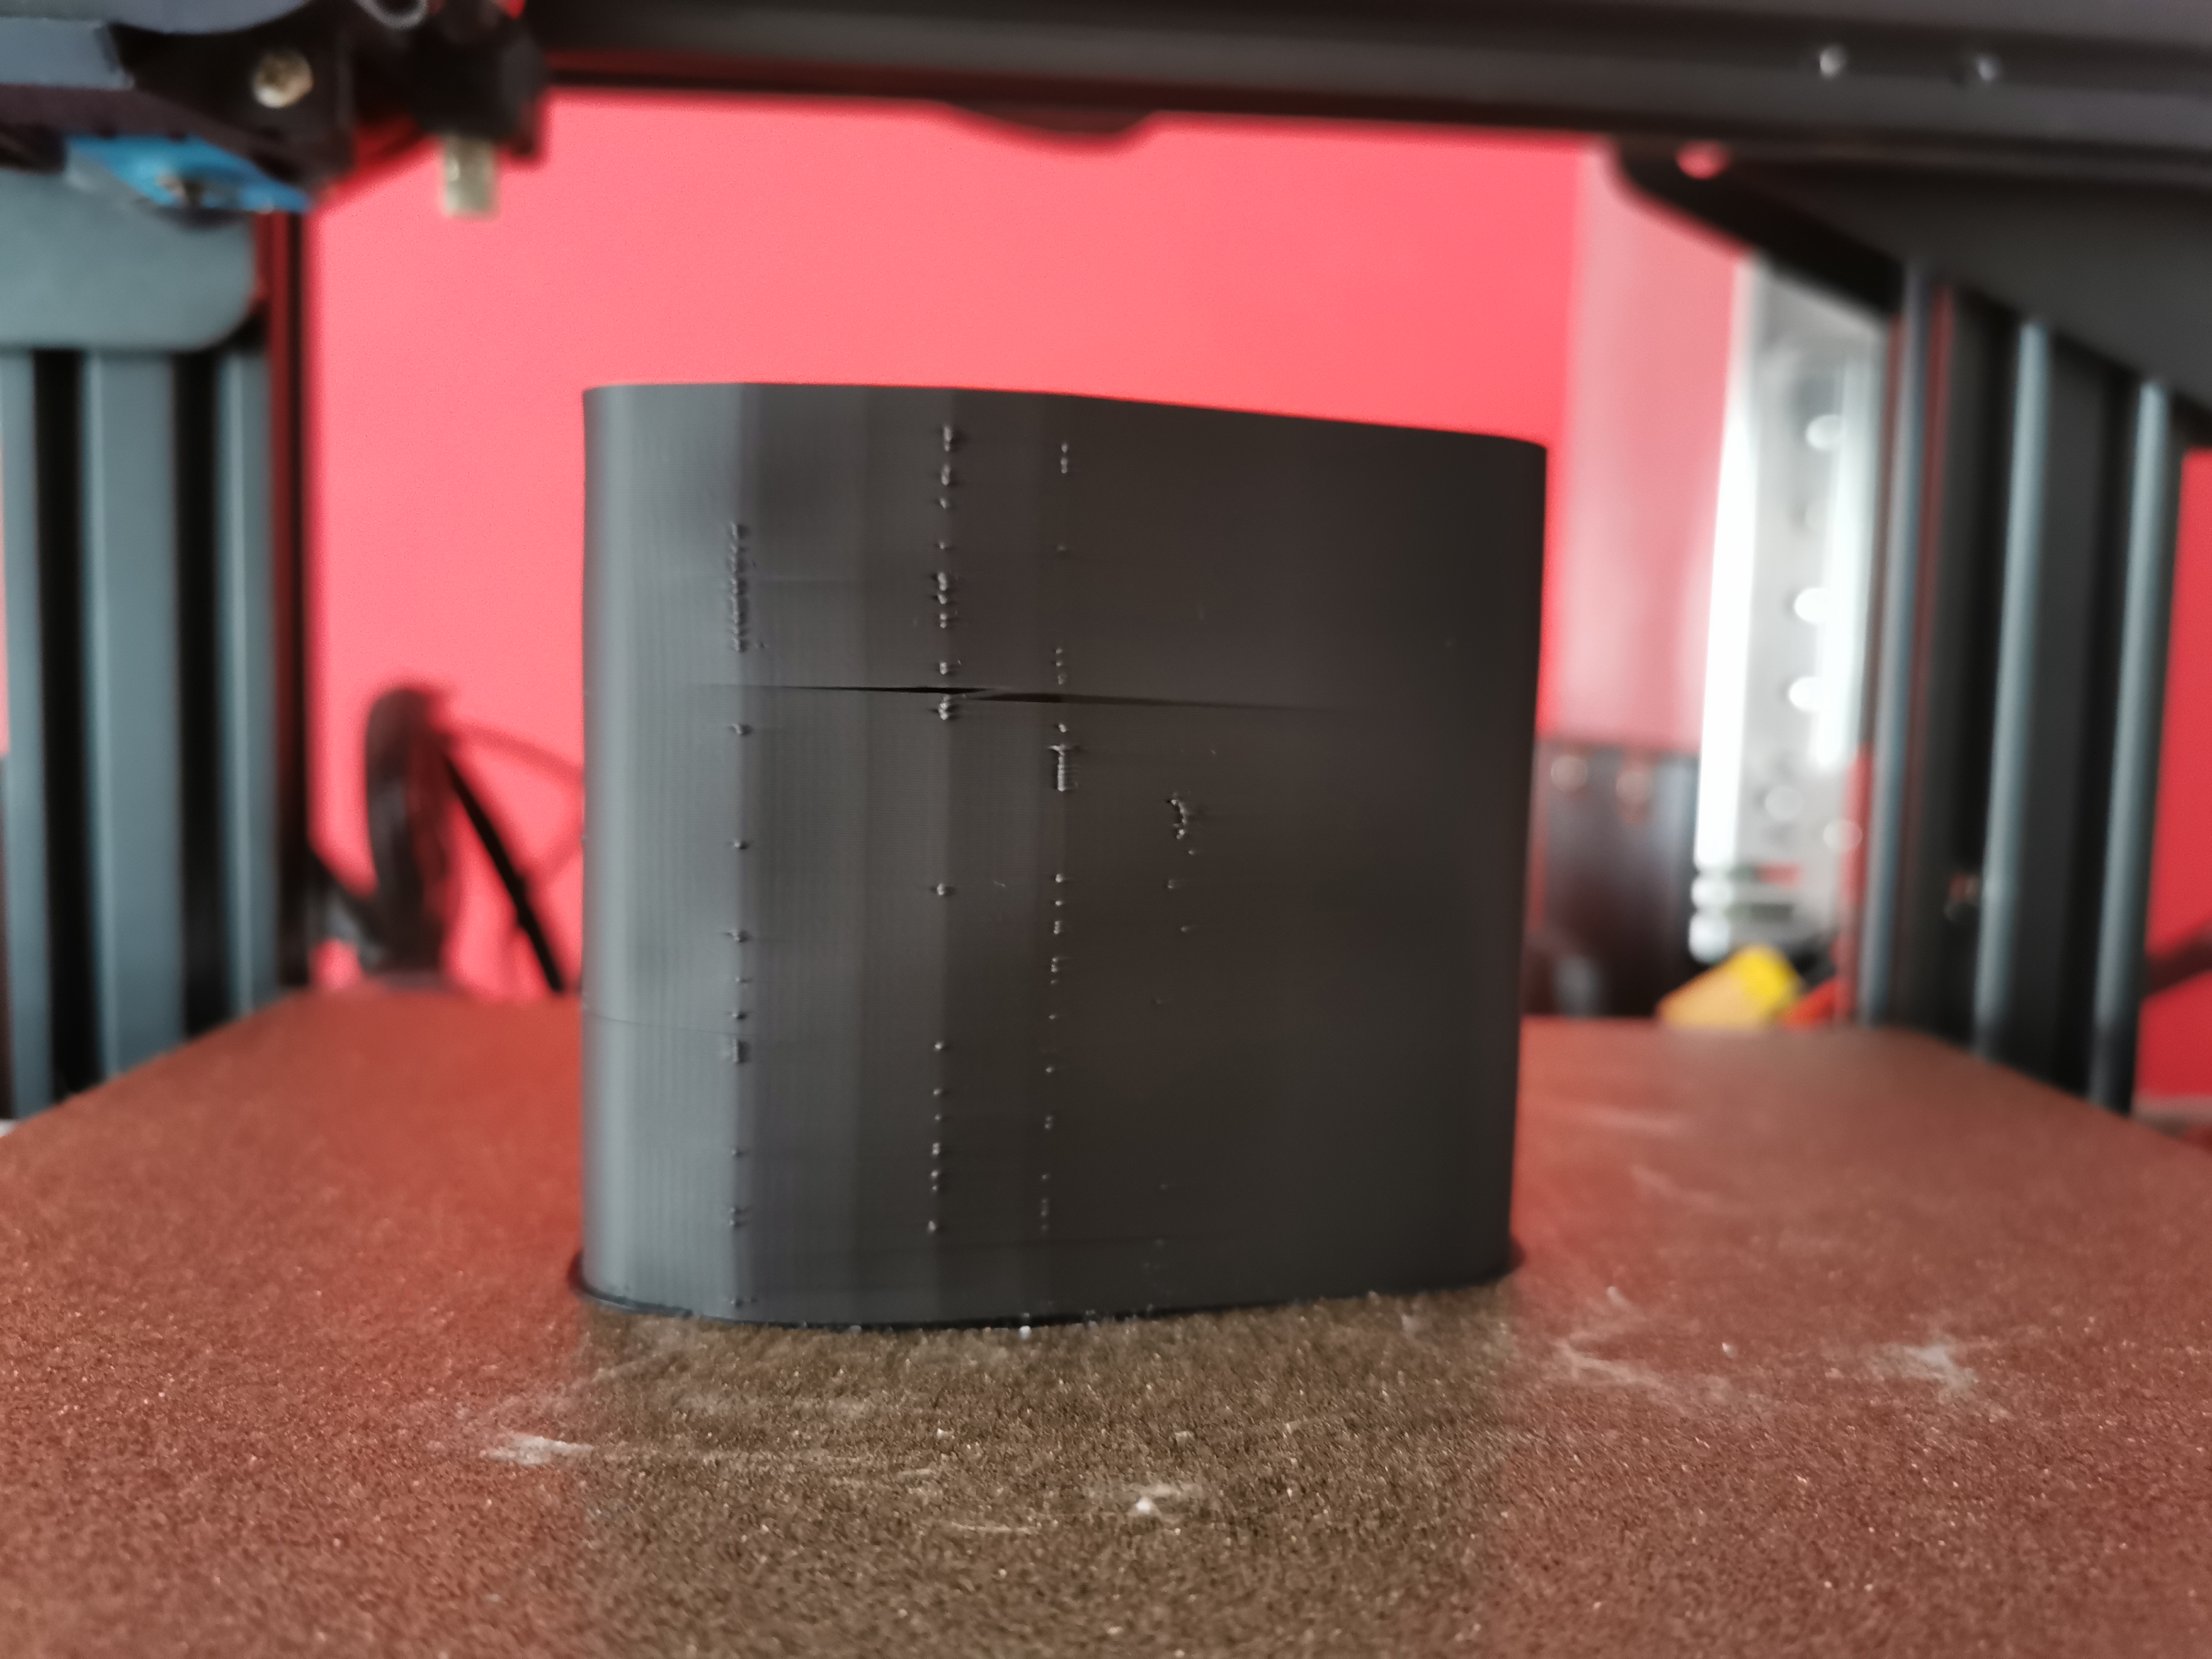
The result may then look like this.

With such an adjustment, we can see ABS and its features to its fullest. The surrounding protective wall is likely to burst, but the print inside, protected from the surrounding cold air, remains intact.
The result might look like this:
 |  |
Finally, I recall a few principles that should be followed when printing ABS
- Substrate temperature: 100 - 110 ° C.
- Cool down to a minimum, typically 10%, or turn it off completely.
- We create a protective wall.
- If we are printing a model with a short printing time of one layer (thin), we print two models or add an auxiliary model nearby.
- We try not to print models with 100% fill - in this case we will not be able to cool down the model and will collapse. If you need such a model, place the swap object as far as possible from the printout (but make sure the auxiliary wall still performs its function) and adjust its size so that the delay on each layer is as large as possible.
- We use Brim, which prevents lifting the corners of the model.
- When printing on PEI film, we use Kores to make it easier to peel the print off the backing.
- If we use a flexible steel magnetic pad, attach its corners with clips.
I wish you many successful prints and be patient and remember - 3D printing is a lot about experimenting!